Friday, September 23, 2016

Top Ten Camping/Outdoor Myths

#1 If soap is biodegradable it's okay to use it in streams, rivers, and lakes.

Biodegradable soaps are great but they should never be used in or near streams or rivers as they can hurt the delicate aquatic ecosystem and harm the creatures that live there in even very small quantities. All soaps (even the biodegradable ones) can destroy the external mucus layers that protect fish and cause severe damage to gills. Soaps also kill fish eggs in very low concentrations, interfere with breeding, and cause freshwater algal blooms that deplete oxygen levels in the waterway. Make sure to always use soaps at least 200 feet away from any water source.    


#2 Removing a tick with tweezers may leave the head in the skin so you should burn, freeze, or smother them with nail polish or petroleum jelly first to make them pull their heads out. 

Ticks do not bury their heads in your skin, only their mouth parts penetrate. You should remove a tick as soon as possible after you find it using tweezers and then clean the area well using alcohol or soap and water. Grasp the tick as close to the skin as possible and pull gently upward with steady even pressure. Burning a tick or covering it with noxious liquids could make the tick regurgitate increasing the likelihood of infection with a tick-bourne disease.


#3 You should drink your pee if you don't have any water.

If you are out of water and to the point where you are considering drinking your own urine, chances are you are already pretty dehydrated. In a dehydrated person urine is extra concentrated with waste products that your kidneys have filtered out of your system. Adding these back to your body can put additional stress on your kidneys and the additional salts can actually accelerate dehydration.

  
#4 Daddy long-legs are the most poisonous spiders alive but their fangs are too short and their mouths are too small to bite humans.

Daddy long-legs (or harvestman spiders) do not possess venom glands or fangs. Their mouths are tiny grasping claws that are much too weak to break human skin.


#5 Moss always grows on the north side of trees.

While it is true that moss likes to grow in shady, cool, and damp locations the plant does not in fact have a compass. In the northern hemisphere the north side of a tree may get less sunlight and make for better growing conditions but many other factors also come into play, making the old adage a poor way to try and navigate.

#6 You should suck the venom out of a snake bite to keep it from getting into the bloodstream.

Snake venom spreads very quickly and it is very unlikely that cutting into a snake bite would reach the venom or that you would be able to suck hard enough to get enough venom out to make any difference. It will cause further harm to the victim though by introducing mouth bacteria into a brand new wound and could cause tissue damage to the mouth of the helpful friend. Tourniquets are also a bad idea as the potential dangers associated with a tourniquet far outweigh the benefits when it comes to snake bites. Bites from mature snakes can also be "dry" bites that do not result in venom being injected into the wound. If bitten by a snake seek appropriate care from medical professionals. Take a picture of the snake if you can do so without risk of further injury but do not attempt to catch it/kill it in order to take it with you.


#7 Handling toads can give you warts.

While many frogs and toads can have bumps on their skin you can't get warts from them; warts on humans are caused by a human virus. Some toads (like the Colorado River Toad below) do excrete a toxin through special glands in their skin that can be irritating if touched or deadly if ingested so you still shouldn't handle them.

#8 If you are lost finding food is the most important thing.

If you are lost in the woods food should be one of the last things you worry about. People can go weeks without food but only a few days without water or a few hours without shelter if the weather is bad. If it is hot find shade, if it is cold find someplace warm (or at least dry) and insulate yourself from the ground. A source of water should be your next concern.


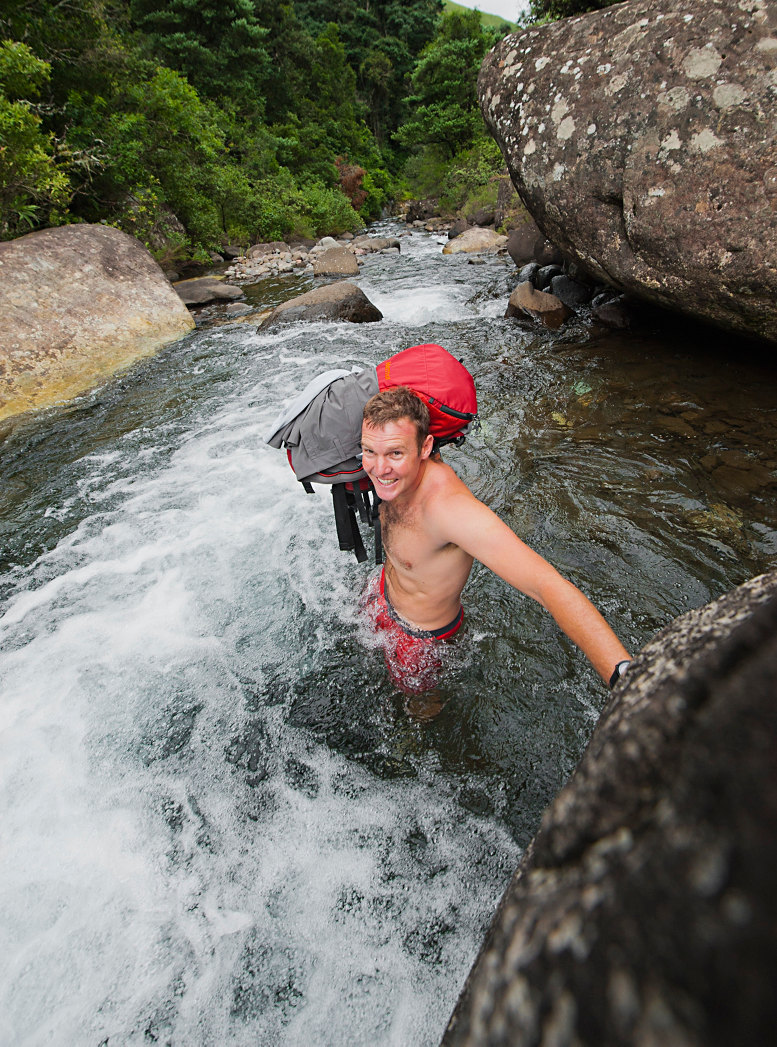
#9 Running water is safe to drink.

There is nothing magical about fast moving water that makes it safe to drink. There could still be something rotting upstream or a variety of wild animals using that clear water for a rest stop. To be on the safe side you should still filter/boil/treat running water before drinking it. If you don't have the means to filter/boil/treat it by all means drink it if you have to. If there are bacteria/viruses/parasites in the water it can take days to a few weeks to make you sick while you can die of dehydration in just a couple of days.


#10 You'll sleep warmer in your sleeping bag if you aren't wearing any clothes.

If it's going to be a cold night you will want to put on a few dry layers before climbing into your sleeping bag. Some long underwear, wool socks, and a warm hat will do wonders keeping you toasty on cold nights by providing additional insulation to trap warmth next to your body. You can make your bag even warmer by adding a sleeping bag liner and extra clothes to take up any airspace in your bag. Be sure to use an air mattress or other pad to insulate you from the cold ground and remove any wet clothes before climbing in.  


Do you know any other camping/outdoor myths? Let us know in the comments below.

Friday, September 16, 2016

Equipment Spotlight - It's What's Underneath that Counts: ExOfficio Underpants

The most important component of your back country 'outfit' is the article no one sees. Yep, that right - we're talking skivvies! I have recently fallen in love with the new line of ExOfficio underwear. They are the kind of thing that once you try a pair, you feel the need to replace your entire undies drawer. They inspired me to learn a bit more about the wild world of undergarmets. I am here to shed some light on the importance of quality outdoor active underwear for quality outdoor activities!

Men's Give-N-Go Sport Mesh 9 Women's Give-N-Go® Full Cut Brief
1. Why it Matters
The wrong type of underwear can do a surprising amount of harm to both your moral, and your body, and can ultimately make or break your trip. This harm could come in the form of chaffing, extreme odors, over-packing, and comfort (or lack thereof). ExOfficio addresses all of these issues with their proprietary Sport Mesh fabric.

Men's Give-N-Go Boxer Women's Give-N-Go® Bikini Brief
2. The Difference
This new line of underwear with ExOfficios' proprietary fabric is everything you would ever need in an underwear. They are extremely breathable, with an open weave mesh facilitating adequate airflow. They feature an antimicrobial finish which actually eliminates odors in the fabric (sounds to me like a built-in air freshener!). They feature some of the best moisture wicking properties I have ever encountered in a fabric, essentially eliminating the issue of chaffing. Finally, the fit is shockingly comfortable, with stretch mesh, flatlock seams, and smooth waistband. They advertise it as "more comfortable than wearing nothing at all", and it is true.

Women's Give-N-Go® Sport Mesh Bikini Brief Men's Give-N-Go Sport Mesh 6
3. Put the Undies to the Test
ExOfficio has always advertised that you can wear just one to two pairs of their underwear for a 6 week excursion. I figured since I am the new self-proclaimed 'Undie Investigator' I should probably put this to the test. I modified it a bit and cycled through two pairs over a two week period, washing in my sink each night and setting out to dry. After a few days the challenge became a bit too easy! After air drying the underwear as recommended, they would be dried out in no more than 4 hours! I was amazed, to say the least. After the two week period the underwear were not stretched out, did not have an odor, and were just as comfortable as the day I bought them. This made me realize how easily I could reduce my load while traveling or on trips.

These underwear are truly a case of quality rather than quantity. I highly recommend giving them a try on your next trip!

Thursday, September 08, 2016

Taking Great Sunset Photos without an Expensive Camera


A beautiful sunset is a breathtaking experience. We've all been someplace and were so impressed with the sunset that we whipped out a camera and took a picture to try and share it with others. Unfortunately those photos often end up disappointing and don't represent what we saw very well. So how do you capture that amazing show in the sky?

Capturing that perfect sunset in the Boundary Waters Canoe Area Wilderness, MN

Expose your photo properly:
Automatic point and shoot cameras meter the light based on what the camera is pointed at (what you can see in the viewfinder/on the screen). For normal everyday photos this means you end up with a photo where you can see the foreground and peoples faces; for sunset photos this means way too much light resulting in the washout of that beautiful orange glow you are trying to capture.

Just Right
Too Much Light!

Many point and shoot cameras have a sunset setting that will expose your photos just right so you end up with beautiful sunset photos. If you have this setting just select it and go.

Enjoying the show in King Range National Conservation Area, CA

If you don't have this option on your camera (or you are using a phone) you can adjust the lighting manually.

  • changing the exposure (decreasing the light to -1 or -2 will do wonders for your sunset photo)                    exposure selections often look like this ->             [-2...-1...0...+1...+2]
  • touching a brighter area on the screen of your phone to focus/decrease the exposure
  • touching a darker area on the screen of your phone to focus/increase the exposure
  • If the sunset is too bright in your viewfinder: point the camera slightly upward so that more sky is in the viewfinder and then push the shutter button halfway down to focus/meter and hold. When the lighting/focus is ready move the camera back to frame the photo you want & shoot. 
  • If the sunset is too dark in your viewfinder: point the camera slightly downward so that more ground is in the viewfinder and then push the shutter button halfway down to focus/meter and hold. When the lighting/focus is ready move the camera back to frame the photo you want & shoot. 

Zoom in:
Many photos taken of sunsets without any zoom include a lot of dark/uninteresting space. Zoom in toward the main event and make sure that the sunset fills your frame.

Boundary Waters Canoe Area Wilderness, MN
Try different things:
In this day of digital photography you don't have to pay more to take more photos. Use this to your advantage by trying different settings on your camera, different focal lengths, and different exposures to get the perfect shot. It's easy to delete the ones that didn't turn out so well at a later time when you can actually see the pictures on a bigger screen.

 Happy Shooting!


Boundary Waters Canoe Area Wilderness, MN
Admiralty Island, AK
Big Bend National Park, TX


John Muir Wilderness, Inyo National Forest, CA 
Bighorn Crags, Frank Church River of No Return Wilderness, ID

Mojave National Preserve, CA


Gila Wilderness, Gila National Forest, NM


Limahuli National Tropical Botanical Garden, HI


Thursday, September 01, 2016

Backcountry Reflections: Five Tips on Bringing a Sketchbook to the Trail

Many people’s first thought on the topic of a backcountry sketchbook is “I’m not an artist”. Well, I am here to explain why it does not matter; bringing a sketchbook into the backcountry could be one of the best decisions of your life.

Now, bear with me, I am prepared to explain why. First and foremost your sketches, much like a journal entry, are for you. They are a unique way to capture and connect with a place, person, event, or afternoon through your own interpretation and perspective. But, unlike a journal entry, sketches also have potential to become more; they can be used as a tool for further preservation and conservation of the land. Sound abstract? Let me elaborate. Sketching in the field gives you time to truly develop a sense of place. This sense of place can then be shared with your friends and family through the sketch who could then feel inclined to build their own love for the subject of your sketch by visiting it themselves. This process can be seen as a cycle of ‘free advertising’ for that region, resulting in more people falling in love with it. The more a wild area is loved and respected, the more likely it is to be protected.

Here are some tips and tricks to sketching in the backcountry.

1)   Take a Moment to Enjoy a Moment

After a long day on the trail, a little R&R is often top priority. With hiking boots thrown aside, rump perched on a rock fireside with friends, it’s time to pull out the sketchbook. Moments of reflection in the backcountry have the potential to be some of the most impactful in life and sketching can help facilitate this. Whether you are surrounded by friends or giving yourself some alone time, capture these moments in a way a camera never could; this will allow you to remember these glimpses of meaning long after they pass.
Drawn while watching a Ranger fly-fish in a mountain lake.

Drawn while sitting with Forest Service friends around a campfire.
Sketched in my tent after an unexpected encounter
2)   Capture the Views Your Camera Cannot

While hiking down a trail on a hot August afternoon in the northern Idaho wilderness, I encountered
an unexpected visitor. I jolted as I heard rustling in the bushes; looking to my right, I spied an equally startled young black bear 15 feet up a dead fir tree attempting to hide from me. I hooped and hollered and let the young bear know I was moving away and not to be messed with. After exiting the heat of the moment I was unable to shake the image of the little black bear, with fear in his eyes, staring at me from its tree. That evening I pulled out my sketchbook to remember the moment.

Sketching can be used in the same way a camera can, using your minds eye as the lens of the camera.


3)   Connect to a Place

Imagine you have reached your destination after a long days hike; this could be a desolate peak with vast views, a crisp alpine lake with fish leaping to and fro, or even a cabin you are will rest at for the night. Regardless, each location means something to you as a temporary home. A place you love, or have grown to love, and a place you hope will remain wild. Pull out your sketchbook and capture this spot through your own perspective. The sketch might not look like the actual landscape, but it’s the beauty that captured by your own eyes that counts. This act could end up being playing a crucial role in the protection of that landscape.
Drawn while taking a break at the summit of a peak and absorbing the views.

  The view form my cook spot at a Forest Service cabin.

4)   What Notebook to Use

In the same way you want quality camping gear, you also need high quality paper. After experimenting with numerous options, I found that the most pleasant backcountry sketchbook option is the same as a front-country sketchbook. While ‘water-proof’ paper options are great for the field scientist, they do not work as well for the field artist. I recommend a small (4in.x6in. to 6in.x6in.) sized notebook with heavyweight drawing paper. This thickness of paper will be more resistant to the elements, but still hold your medium as expected.
Some of the necessary tools for sketching in the backcountry.

5)   Necessary Gear
      
When you head out on a trip, you have a few leading artistic options, depending on your personal style and preference. Your best backcountry choices are pencil or pen. There are many benefits and drawbacks of both tools. Here’s what you need to know for either option.
      
Pencil is great for the mistake-maker. Pencil will be forgiving and allows for attention to detail, but fails to withstand the elements. If using pencil, buy a small set of artist graphite pencils and test to see what density graphite suits you best. I typically bring a HB and a 6B with me on the trail. Three other necessities if working with pencil are a gummy eraser, a small blending stump, and, of course, a small pencil sharpener.
      
Pen is perfect for the non-meticulous types. Pen will allow you to move quickly through a sketch and will hold up well to the craziness of the backcountry, but is unforgiving when it comes to mistakes. If using pen I recommend using Pigma Micron brand, purchased at any art or office supply store, in one or two sizes. I typically bring sizes 0.05 and 0.01 into the backcountry. 
      
      
Beyond the tips and tricks of sketching in the backcountry, the most important thing to keep in mind is to enjoy each moment, and to capture that moment in whatever way you see fit. You do not need to be an artist to appreciate places and moments or to use sketching as a medium to commemorate and reflect on those events.